I have been following Tim Wilmot on YouTube for about 2 years now. At first I just watched him paint. This past year I have been painting some of his tutorial subjects.
He has almost 100 tutorial videos up on his channel. Almost all of his paintings are in real time with narration. He discusses his palette and the brushes, paper, etc. As he paints, he describes what he is doing and why.
Upon selecting a subject, he discusses why he chose it, why it is a good subject for watercolor, and any changes he plans to make to enhance the composition.
He also suggests where to find subjects to paint, such as screen shots of TV shows, a dash camera, photos taken on vacation or found on the internet (as long as they are free to use.)
Several of his tutorials deal with specific elements of the painting challenge, such as how to paint white buildings, dealing with shadows, how to add figures and cars to scenes, limited palettes, etc.
What I admire most about Tim is his ability to take what looks to be a real crap photo and make something beautiful out of it. That and his loose approach to painting. Tim is not careless, but he does not care if little accidents happen, if the colors bleeds or blossoms occur. It is all part of the painting.
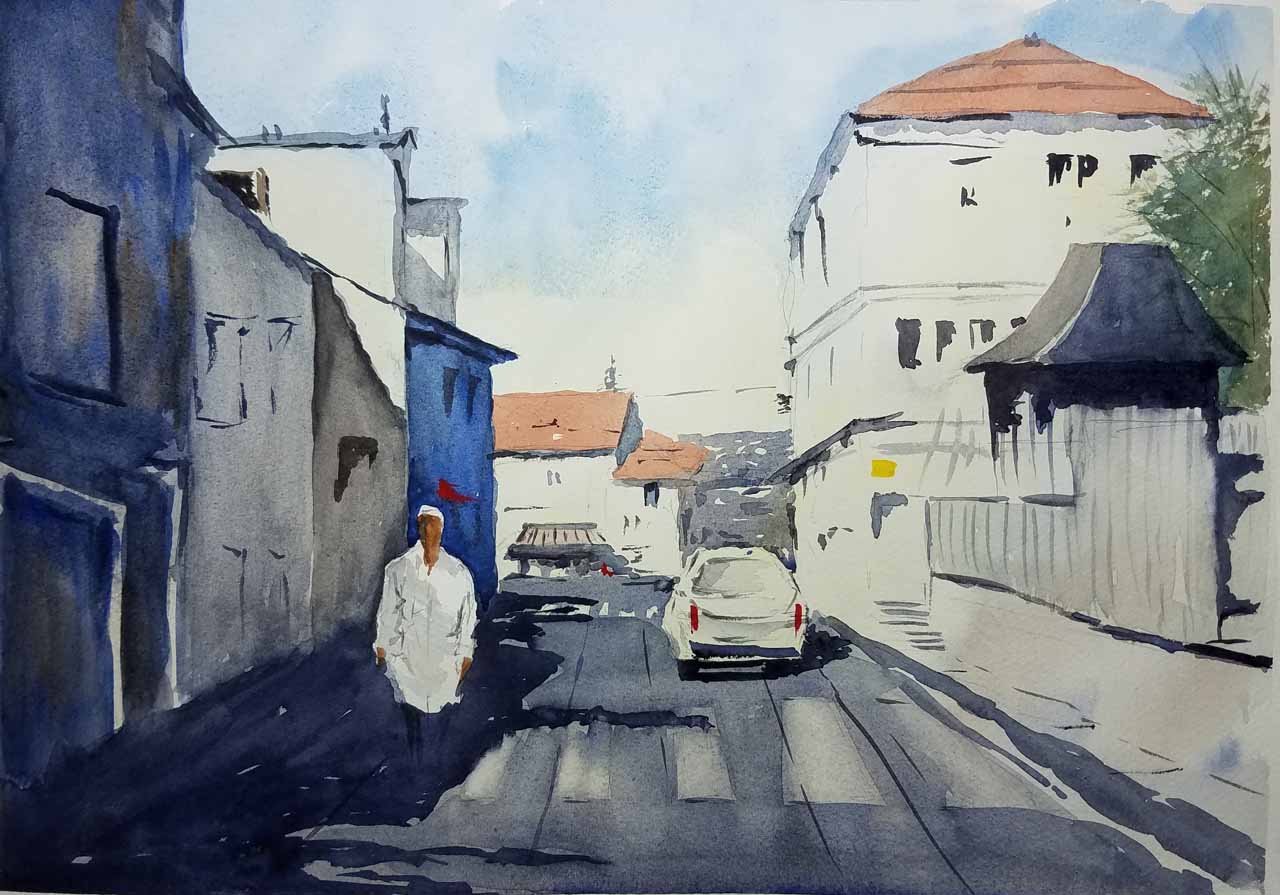
Street Scene - After Tim Wilmot
French Vines - after Tim Wilmot
First Attempts
I began by sketching parts of some of Tim’s works. Rather loosely and without a lot of thought. I liked how he could make sense out of what appeared to be chaos in the photos he used
He first looks at the photo to select the elements, light source, and overall composition.
Next he sketches out the roughest outline of the key elements, few details, just markers to make sure proportions and positions are reasonably correct.
Then comes the first wash, done with a large squirrel or synthetic mop. I have a hard time judging the correct amount of water to mix with pigment. Tim shows his palette and the mixes he is using throughout the tutorial. He covers most of the paper, preserving white where necessary. He does not use masking fluids, ever.
Next he adds his dark midtones. Mostly with a smaller mop, but sometimes with a sable or synthetic round brush. These provide most of the structure of the scene. Trees, other organics, windows, or articles on the street or field, cars, figures, etc.
Almost finished, using a small round brush he adds details, street lamps, curbs, fences, window sills, auto trim, overhead wires, etc.
The last step, is to add highlights, using white gouache straight from the tube. Sparingly and only as required.
The painting at the top of this post is the final result of following Tim’s five point tutorial.
Here are some of my other paintings based on Tim Wilmot tutorials.